 macklus
Since a while ago I started moving all the services that I currently have towards serverless systems, I also started looking for...
Create IAM’s user for SNS notification sending
 macklus
 También puedes leer este apunte en castellano pulsando aquí.
One of the recommended ways to perform sending notifications with SNS , is to create a user of IAM (the AWS Identity Management System).
Thus, we will have a user with their access codes, configured only to be able to send notifications, which offers us greater security.
Only requirement for the creation of this user is to have already created our SNS topic and to point its RNA. If you have not created it yet, you can follow the entry “ Configure SNS to receive notifications ”
Access to the IAM console
First step is always to access the AWS console .
Once inside, in the search bar we will look for “IAM” to be able to access the identity console.
Creating an IAM policy
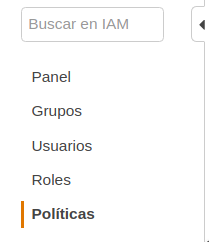
Once we are in the IAM welcome screen, we will start creating a new Policy, clicking on the “Policies” link in the menu on the left.
Since our user has to have an applied policy that gives him permission, we will start creating this policy, so that the creation process is easier to see.
Within the default policies of IAM we can find already defined policies for most of the services, although we will define our own to restrict access to the user as much as possible.
Once in the policy screen, click on the “Create a policy” button

When accessing the policy creation screen we will have two options:
- Visual editor: to navigate through existing policies and choose the ones we want.
- JSON: to directly indicate the permissions that we want to apply.
In our case, we are going to go directly to the JSON tab, since we will introduce the permissions in that way. The code that we must indicate is the following:
{
     "Version": "2012-10-17",
     "Statement": [
         {
             "Effect": "Allow",
             "Action": "sns: Publish",
             "Resource": "arn: aws: sns: eu-west-1: 1836171893615: myTopic"
         }
     ]
 }
In the Resource section we must indicate the arn of the topic that we are going to use for the shipments.
By clicking on Review policy, it will be verified that the code we have set is correct, and we will go to the verification screen.
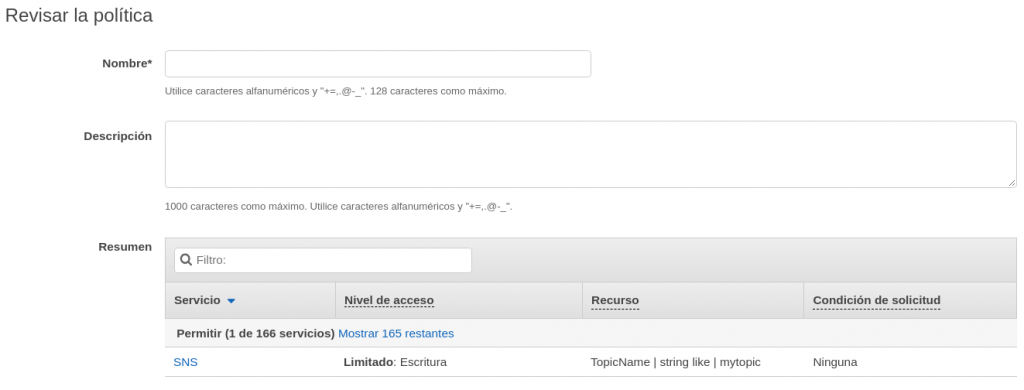
Last step is to indicate a name for the policy, and a brief description, and clicking on “Create a policy”, we will have our policy created.
Create user on IAM
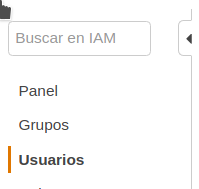
On left menu we will see the different options, and we will access the users tab by clicking on the “Users” link.
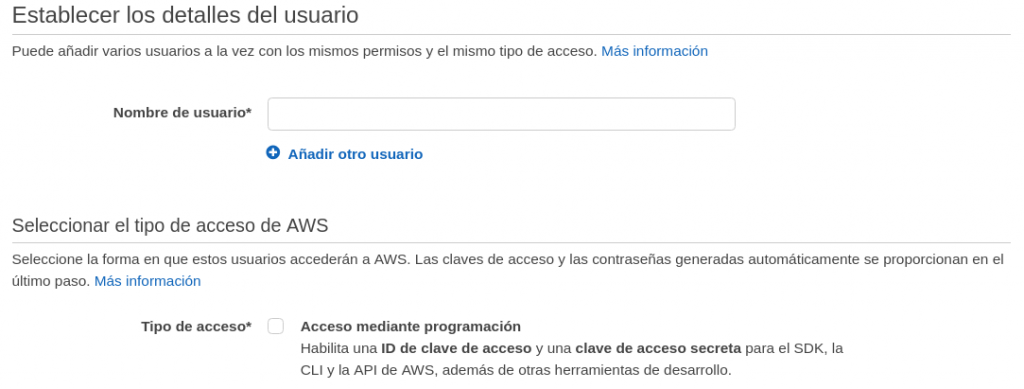
Inside the user screen we will see the active users (if any), and we can create a new user by clicking on the “Add user (s)” button.
Inside the user creation screen, first we will indicate the name we want it to have, and that we will access it in a programmatic way.
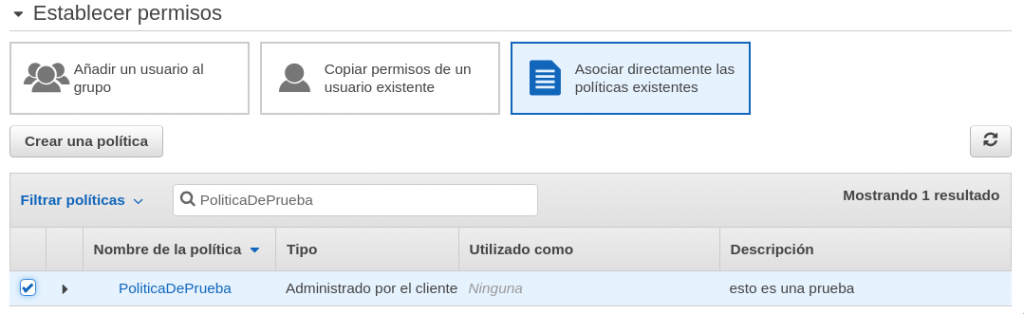
With basic user data already created, the next step is to add the permissions that you are going to have. As we have already created a policy, we just have to indicate that our user must use it, and for that:
- Click on the button “Directly associate existing policies”
- We use the search engine to locate the policy that we have just created.
- Mark the policy or policies that we want add.
Once finished, we click on the labels button to go to the labels screen.
Here we can indicate the labels that we want (it is optional), to identify the characteristics of that user.
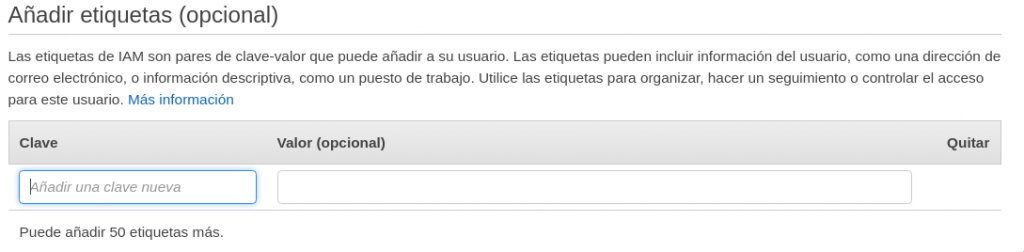
Once we finish, we will click on the “Next: review” button to finish.
Last step to create the user is to review the configuration of this and click on the “Create user” button.
If everything went well, we will see a message indicating that we have already created the user, and we can download or see the keys to connect with that user.

After that, we can use this data to send SNS notifications.
