 macklus
Since a while ago I started moving all the services that I currently have towards serverless systems, I also started looking for...
Create a free certificate in AWS with AWS Certificate Manager
 macklus
 También puedes leer este apunte en castellano pulsando aquí.
Nowadays there are very few web pages that do not work with TLS to encrypt the connection between us and the server. The appearance of Let’s Encrypt, which allows us to have a free SSL certificate, and the importance that Google gives to using https for SEO, have facilitated its dissemination.
AWS also allow us to have free secure certificates to use in your infrastructure, through the AWS Certificate Manager service or acm. In this post we show you how to create a free certificate to use with Amazon services.
ACM certificates
With AWS Certificate Manager we can create free certificates, valid for any browser, taking into account that:
- The certificates work for all modern browsers.
- If we generate a public certificate we will not be able to download it to our computer (we can only do it if we import the certificate)
- We can only use the certificate generated in AWS services (for example CloudFront or ELB)
- To generate the certificate we must validate that we own the domain, either by mail or DNS.
In addition, it is important to keep in mind that certificates are generated by AWS region, so if we have services in more than one region, we must generate a certificate in each of them.
Finally, if we want to use the CloudFront service, it is essential that the certificate we are going to use with CloudFront be in the us-east-1 zone, or it will not allow us to make the configuration.
Generate a new certificate
To generate a new certificate, we must follow the following steps:
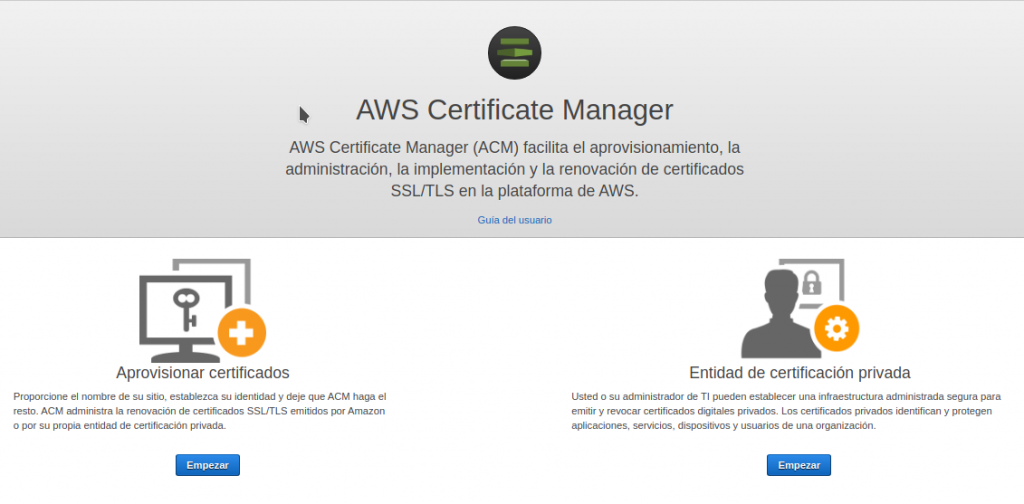
First, we enter the ACM page in the AWS console. We must also select the region in the selector in the upper right. If this is the first time we access, we will see the following screen, where we will click on the Start button under “Provision certificates”
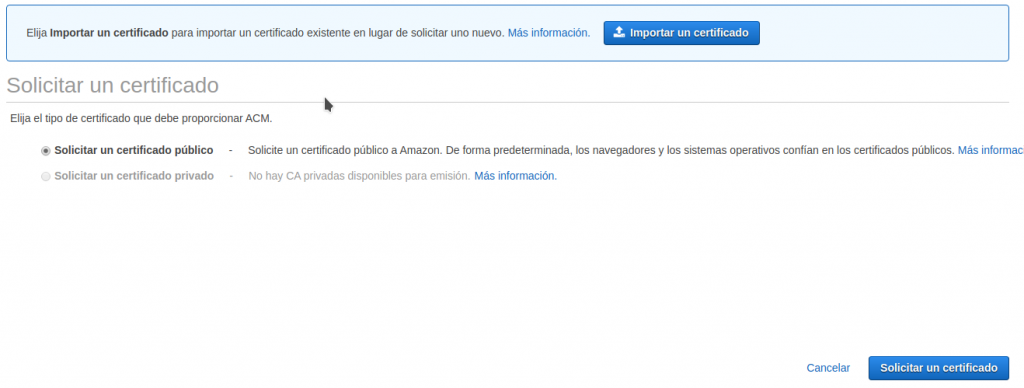
Now a screen will appear to indicate the type of certificate we want to create, where we will select “Request a public certificate” and the blue button “Request a certificate”
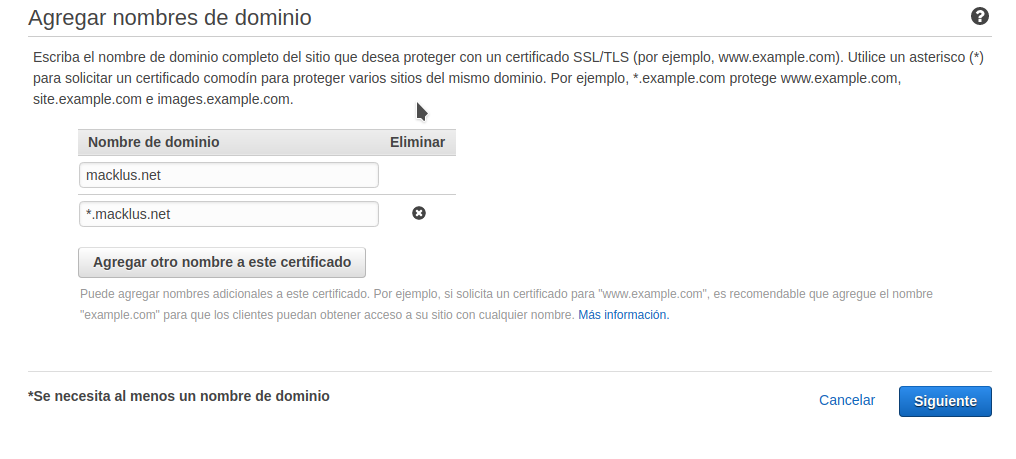
On the next screen, we have to indicate the name of the domains or subdomains that we want to add to that certificate. Keep in mind that we must add the main domain, and that we can use the subdomain * to enter all the first level subdomains of the domain.
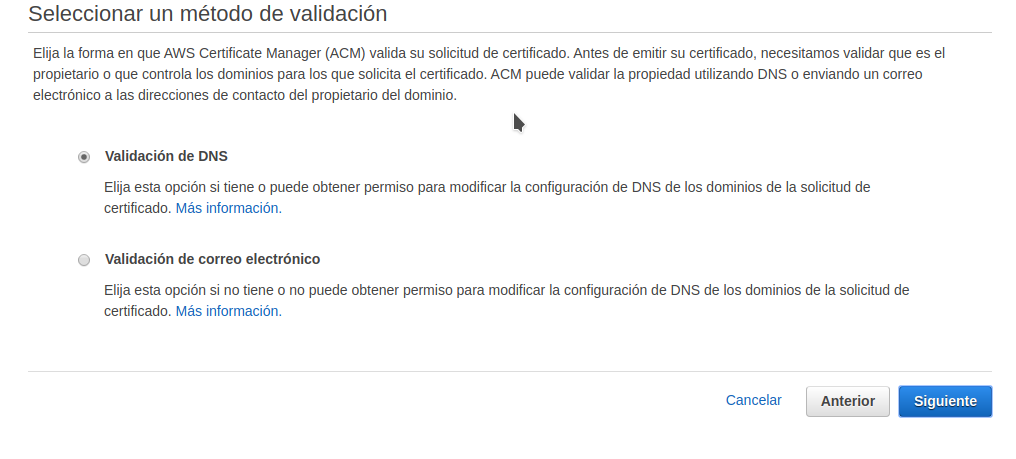
Once the domains are indicated, we must decide how we want to validate the domain. To prevent someone other than the owner from generating a certificate, we need to confirm that we have domain management, which we can do in two ways:
- DNS: Creating the CNAME records that AWS tells us. It is necessary to have access to the DNS configuration of the domain.
- Email: By clicking on a link sent to domain administration emails, to which we will have to access.
We will choose which option we want to use, and click on Next
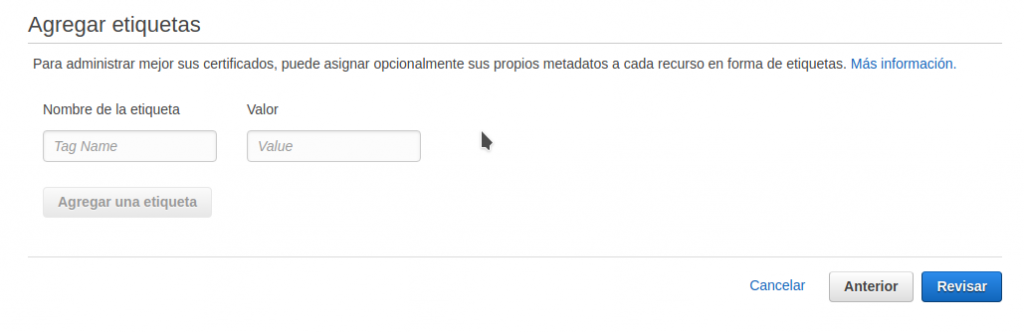
After indicating the form, we can add the labels that we want for this certificate (for example to break down the costs by category)
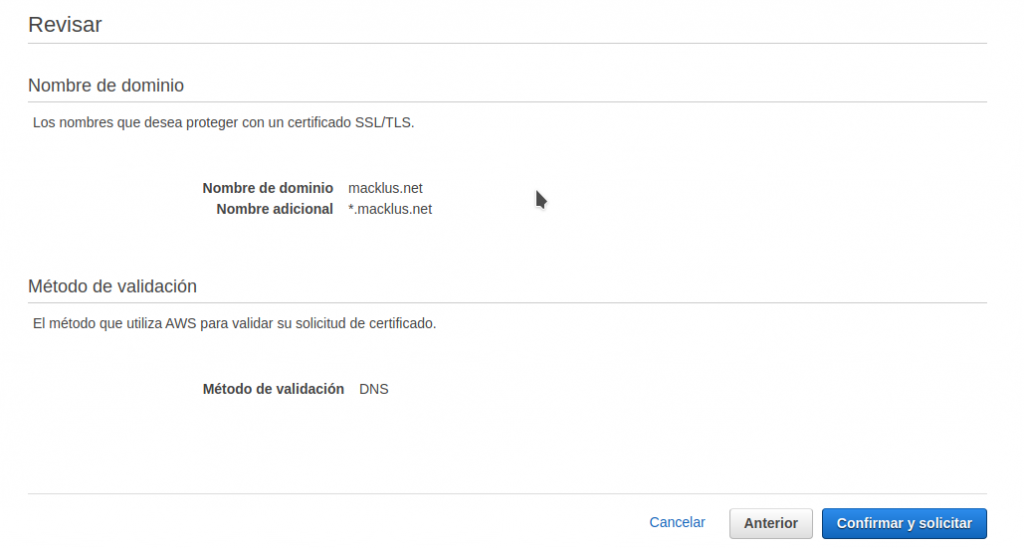
Finally and before going to validation, we will see a summary of the data we have entered, and we must click on the blue button “Confirm and request”
Email Validation
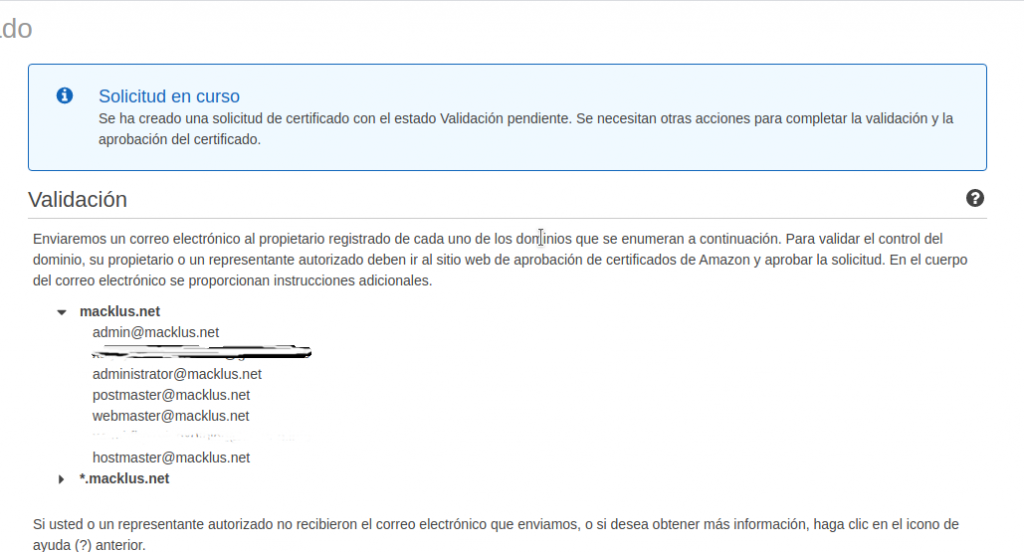
If we have chosen the validation by email, it will indicate the addresses to which you have sent the confirmation email, which are the addresses of the contacts that appear in the domain, and a series of specific addresses, which are:
- admin
- administrator
- postmaster
- webmaster
- hostmaster
In each of these addresses, we will receive a confirmation email from Amazón, with a link on which we must click to validate the certificate request.
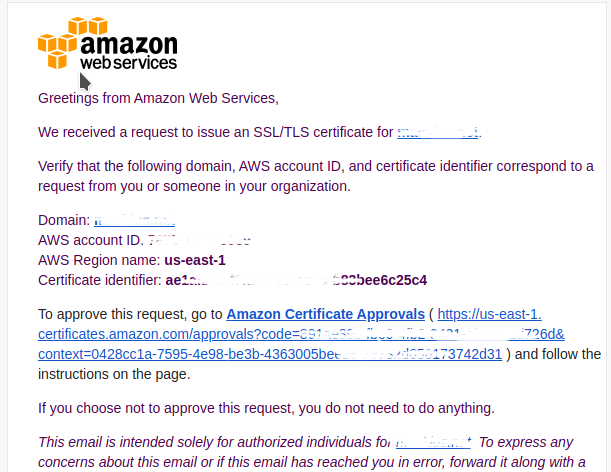
Once we click on the link the request will be considered valid.
DNS validation
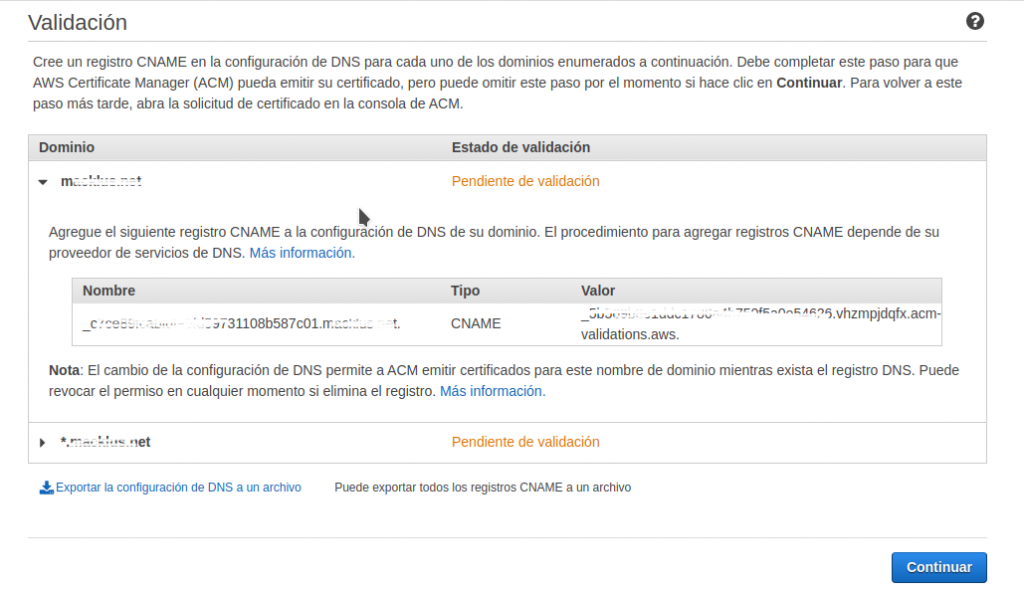
If we choose the certificate validation through DNS, it will show us a screen indicating the records that we must create in our DNS to validate the domain.
This system may take a longer time to activate, since the DNS changes must be propagated and AWS must verify that they have propagated and are correct, although the process is transparent to us.
With this, you can now use your newly created certificate in the services of Amazón that you need.
