 macklus
Since a while ago I started moving all the services that I currently have towards serverless systems, I also started looking for...
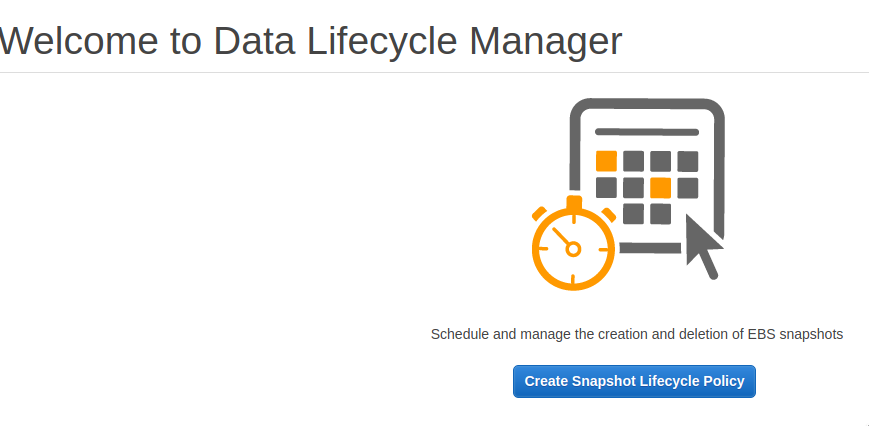
EC2 backups with Lifecycle Manager
 macklus
 También puedes leer este apunte en castellano pulsando aquí.
When working with our applications in EC2, the data of our applications should always be stored in the correct data stores. For example, the application code should be hosted in a git repository, and the application data, for example images, should be maintained in services such as S3, which guarantee us immediate availability and security.
Despite this, it is always advisable to have backup copies of our instances, in order to recover an earlier version immediately in case of emergency. In addition, to reduce costs it is important that we erase the oldest copies.
To do this, we will use the AWS Amazon Lifecycle Manager service, which is responsible for launching the copies and rotating them to eliminate old copies.
Creating a backup policy
Before starting to create the policy, it is important that we take into account the condition that we will use to make copies. If we have multiple instances of EC2, we may only need copies of some of them, and not all of them. To make the process easier, I always create a label in the instances of which I want to backup.
To access the Lifecycle Manager service, we must select the EC2 service, and from there, in the menu on the left, section “Elastic Block Store” , we will see the Lifecycle Manager menu option. By clicking, we will see the policies that we have already created, and we can create a new one by clicking on the blue button “Create Snapshot Lifecycle Policy” .
The configuration of the new backup is divided into different steps, which we must complete.
General configuration
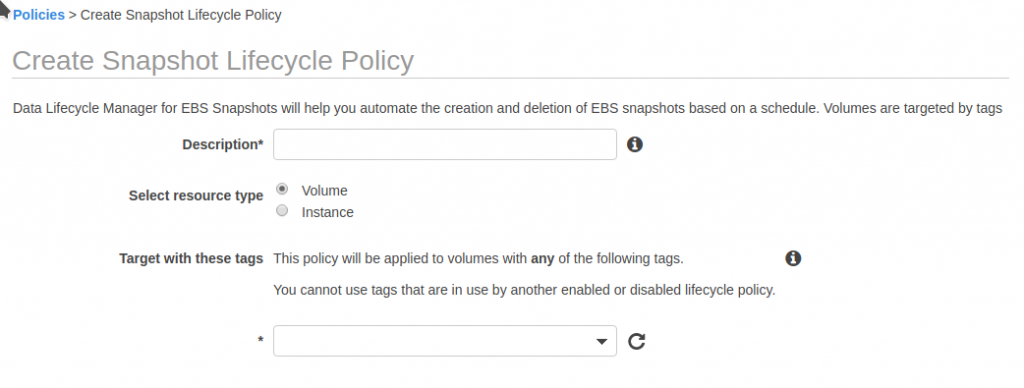
In the first configuration step we must indicate the descriptive name of the task, and the way to determine from which instances or volumes we are going to make a copy. We will have to indicate if we want to make copies of instances or volumes, and then the label that will indicate the resources to be copied.
Policy calendar
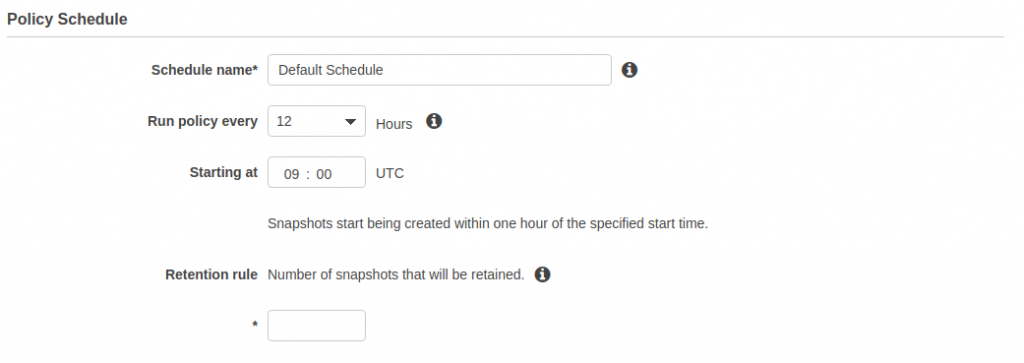
The second step is to indicate at what time and how often we want the backup to be done. In my case I make copies every 12 hours, at 06:00 UTC. Finally, we must indicate how many copies we want to keep in total.
Information tags
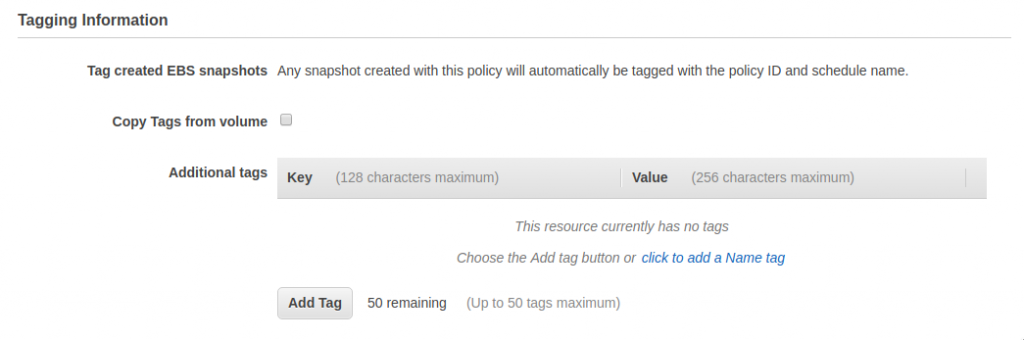
Once the backup is created, we can add the tags that already exist at the source (I always activate this option), and add new tags to the copy volume, up to a maximum of 50.
Parameters
Within the parameters section we can only indicate if we want to exclude the root volume of the copy. Generally it is advisable to check this option, otherwise the instance will stop before making the copy.
IAM role
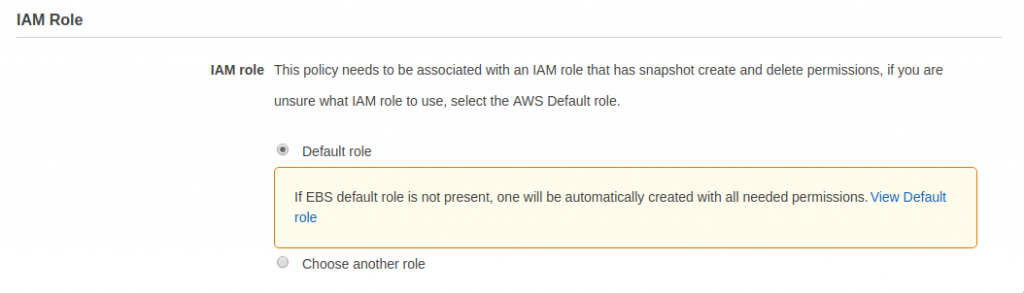
The copy process must have an IAM role activated in order to access the resources. If we do not have a very specific configuration, it will be enough to mark the default role, which will be created if it does not exist.
Policy summary
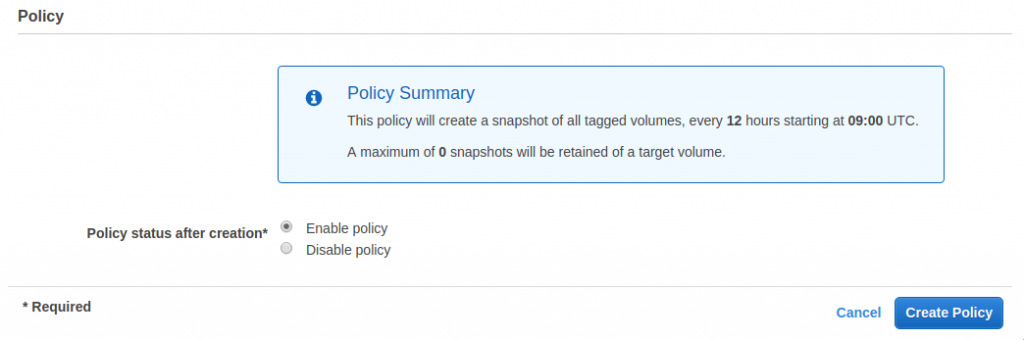
Finally, it will show us a summary of the policy we have created, and we can select whether to activate it or not.
With these steps, we will have a copy of our data that we can recover in case of emergency.
